주말 내내 자신감 하락에 휩싸이다가 뭐라고 해야겠다 싶어서 작성한 AWS IoT 환경 테라폼으로 구성하기 캠페인
AWS IoT Thing
AWS IoT Core Thing 생성하기
이름이 dvc-iot-tf-thing이라는 사물을 생성한다.
# Create IoT Thing
resource "aws_iot_thing" "dvc-iot-tf-thing" {
  name = "dvc-iot-tf-thing"
}
AWS IoT Core Thing Group(사물 그룹) 생성하기
상위에 dvc-iot-tf-tg-parent라는 사물 그룹을 생성하고, 하위에 dvc-iot-tf-tg-child라는 사물 그룹을 생성한다.
# Create IoT Thing Group
resource "aws_iot_thing_group" "tg-parent" {
  name = "dvc-iot-tf-tg-parent" #상위 사물 그룹 이름

  tags = {
    terraform = "true"
  }
}

resource "aws_iot_thing_group" "tg-child" {
  name = "dvc-iot-tf-tg-child" #하위 사물 그룹 이름

  parent_group_name = aws_iot_thing_group.tg-parent.name #상위 사물그룹 이름

  properties {
    attribute_payload {
      attributes = {
        One = "11111"
        Two = "TwoTwo"
      }
    }
    description = "This is my child thing group by terraform"
  }

  tags = {
    terraform = "true"
  }
}

IoT Thing Group에 Thing 연결하기
사물 그룹을 생성했으면 사물과 연결해야하는 법
# Connect with IoT Thing Group and Thing
resource "aws_iot_thing_group_membership" "tf-tg" {
  thing_name       = "dvc-iot-tf-thing"
  thing_group_name = "dvc-iot-tf-tg-child"

  override_dynamic_group = true
}- override_dynamic_group을 true로 설정하면 10개 그룹 제한에 도달하면 동적 사물 그룹을 정적 사물 그룹으로 재정의한다.
- 사물이 10개의 사물 그룹에 속하고 해당 그룹 중 하나 이상이 동적 사물 그룹인 경우 정적 그룹에 사물을 추가하면 마지막 동적 그룹에서 사물이 제거된다.

AWS IoT Core 인증서(Certificate) 생성하기
CSR 없이 인증서를 생성하는 과정이다.
active 변수를 통해 인증서의 상태를 활성화(true)할 것인지 비활성화(false)할 것인지 입력한다.
# Create IoT Certificate
# Without CSR(Certificate Signing Request)
resource "aws_iot_certificate" "tf-cert" {
  active = true #인증서 상태
}
IoT 콘솔에서는 보안 > 인증서 > 인증서 생성을 통해 인증서를 생성하고 다운로드 받을 수 있는데, 테라폼으로 인증서를 생성하고 난 뒤에output 작업을 통해 다운로드 받을 수 있다.
variable "outputs_path" {
type = string
}
#save certificate files
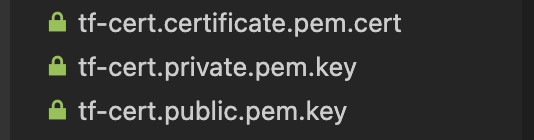
resource "local_file" "thing-certificate-cert" {
content = "${aws_iot_certificate.tf-cert.certificate_pem}"
filename = "${var.outputs_path}/tf-cert.certificate.pem.cert"
}
resource "local_file" "thing-certificate-pub" {
content = "${aws_iot_certificate.tf-cert.public_key}"
filename = "${var.outputs_path}/tf-cert.public.pem.key"
}
resource "local_file" "thing-certificate-pri" {
content = "${aws_iot_certificate.tf-cert.private_key}"
filename = "${var.outputs_path}/tf-cert.private.pem.key"
}terraform apply 명령을 입력하면 value 값을 입력하라고 나타난다. 인증서를 저장하고 싶은 경로를 입력하면 생성한 인증서가 지정한 경로 내에 저장된다.
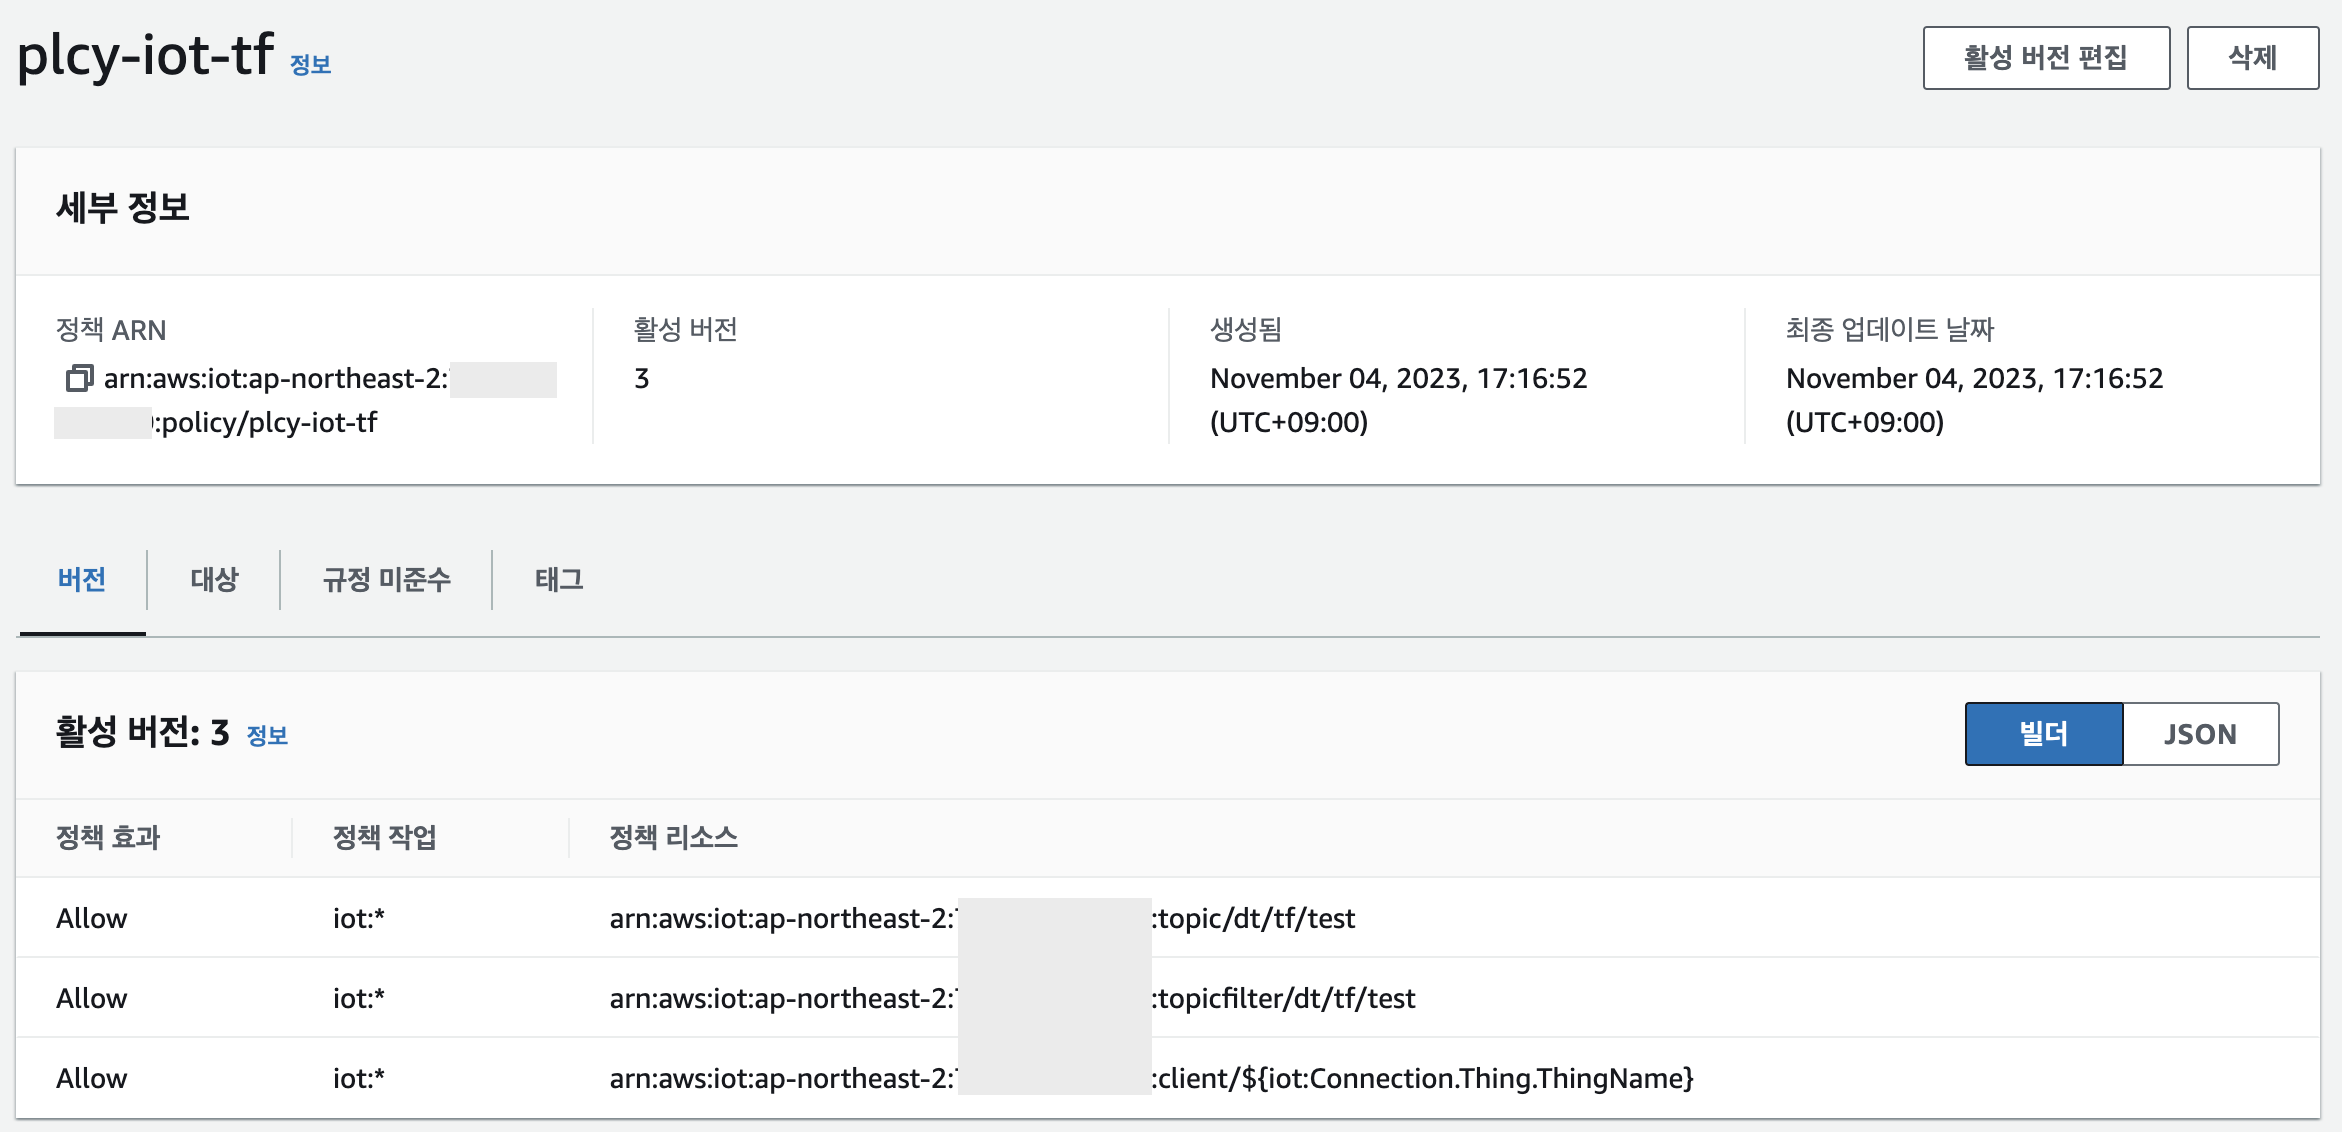
AWS IoT Core Policy(정책) 생성하기
정책을 생성하기 위해서 생성한 Thing의 정보를 가져오기 위해 data로 변수를 정의해준다
data "aws_arn" "dvc-iot-tf-thing-arn" {
  arn = aws_iot_thing.dvc-iot-tf-thing.arn
}
그리고 다음 명령을 통해 Policy를 생성한다
- 위에서 정의한 Thing의 arn을 통해 region 값, account 값 그리고 ThingName을 찾을 수 있다
- dt/tf/test이라는 Topic을 허용하도록 구성한다
# Create IoT Policy
resource "aws_iot_policy" "tf-policy" {
  name = "plcy-iot-tf"

  # Terraform's "jsonencode" function converts a
  # Terraform expression result to valid JSON syntax.
  policy = jsonencode({
    Version = "2012-10-17"
    Statement = [
      {
        Action = [
          "iot:*",
        ]
        Effect   = "Allow"
        Resource = [
          "arn:aws:iot:${data.aws_arn.dvc-iot-tf-thing-arn.region}:${data.aws_arn.dvc-iot-tf-thing-arn.account}:topic/dt/tf/test",
          "arn:aws:iot:${data.aws_arn.dvc-iot-tf-thing-arn.region}:${data.aws_arn.dvc-iot-tf-thing-arn.account}:topicfilter/dt/tf/test",
          "arn:aws:iot:${data.aws_arn.dvc-iot-tf-thing-arn.region}:${data.aws_arn.dvc-iot-tf-thing-arn.account}:client/$${iot:Connection.Thing.ThingName}"
        ]
      },
    ]
  })
}
Policy(정책) 연결하기
생성한 정책을 인증서에 연결하고, 정책이 연결된 인증서를 Thing(사물)과 연결한다
# Attach IoT Policy to cert
resource "aws_iot_policy_attachment" "tf-att_plcy" {
  policy = aws_iot_policy.tf-policy.name
  target = aws_iot_certificate.tf-cert.arn
}

# Attach Principal to IoT Thing
resource "aws_iot_thing_principal_attachment" "tf-att-prcp" {
  principal = aws_iot_certificate.tf-cert.arn
  thing     = aws_iot_thing.dvc-iot-tf-thing.name
}

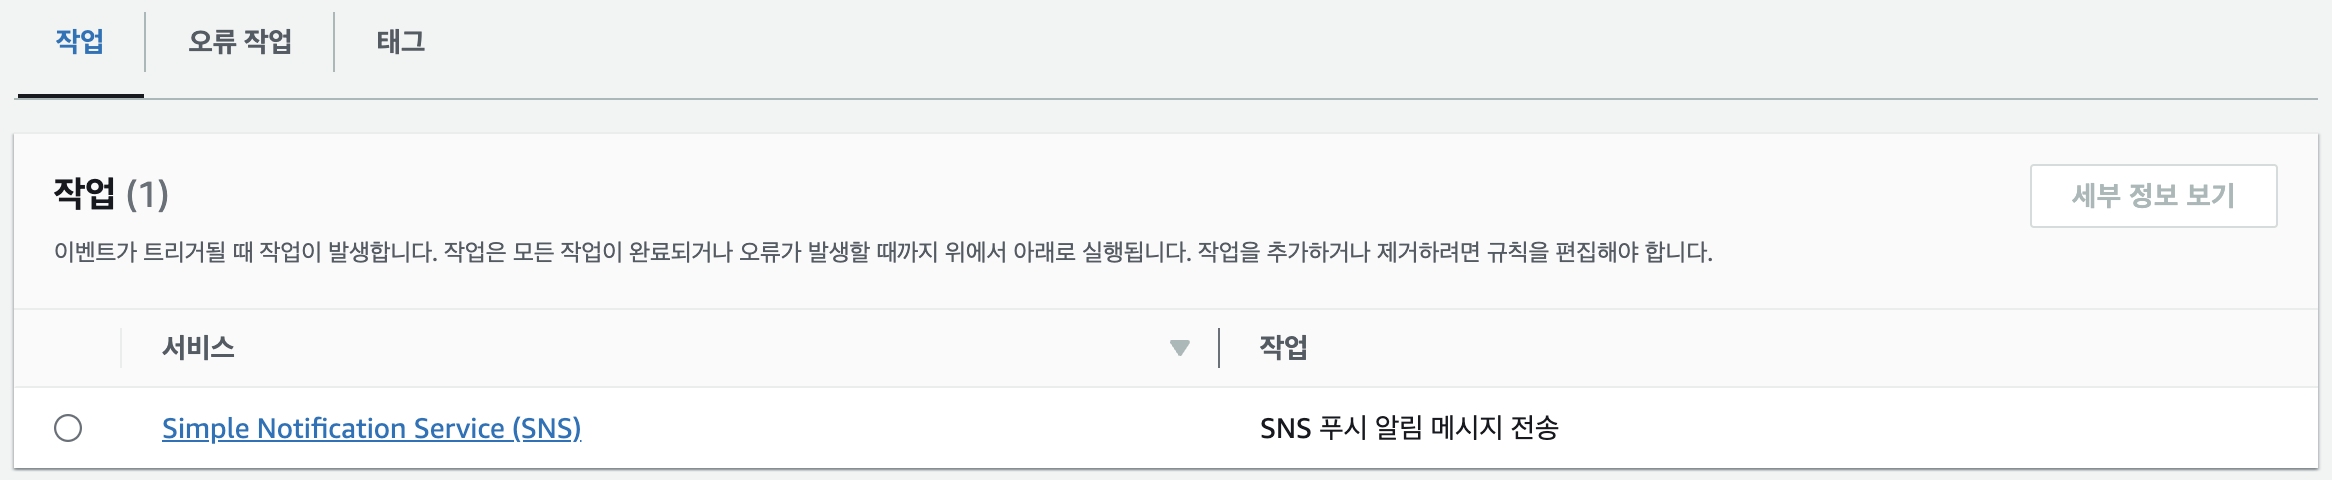
Rule을 통해 메시지를 Amazon SNS로 전달하기

Amazon SNS 생성하기
IoT Core Rule을 생성하기 전에, SNS를 생성하여 토픽과 구독을 설정하자
<구독 확인> 메일이 자동으로 메일로 날아오기 때문에 굳이 콘솔에서 <구독 확인>을 누르지 않아도 된다
※주의사항※
구독이 확인될 때까지 AWS는 Terraform이 구독을 삭제/구독 취소하는 것을 허용하지 않는다.
확인되지 않은 구독이 있다면, Terraform에선 destroy를 통해 구독을 제거하지만 실제로 구독은 AWS에 계속 존재한다.
SNS 주제를 삭제하면 SNS는 해당 주제와 관련된 모든 구독을 삭제한다.
# Create SNS topic
resource "aws_sns_topic" "tf-topic" {
  name = "sns-tf-topic"
  tags = {
    terraform = "true"
  }
}

# Create SNS topic subscription
# After creating email subscription, <AWS Notification - Subscription Confirmation> message will send to your email.
resource "aws_sns_topic_subscription" "tf-sns-topic" {
  topic_arn = aws_sns_topic.tf-topic.arn
  protocol = "email"
  endpoint = "[YOUR-EMAIL-ADDRESS]"
}

AWS IoT Core Rule 생성하기
- SELECT * FROM 'dt/tf/test'라는 SQL 문으로 메시지를 받아서 SNS에 전달하도록 구성한다
- 오류 작업에는 err/tf/test Topic에 메시지를 Republish 할 수 있도록 한다
# Create IoT Rule
resource "aws_iot_topic_rule" "tf-rule" {
  name        = "rule_iot_tf"
  description = "IoT Rule by Terraform"
  enabled     = true
  sql         = "SELECT * FROM 'dt/tf/test'"
  sql_version = "2016-03-23"

  sns {
    message_format = "RAW"
    role_arn       = aws_iam_role.tf-rule-role.arn
    target_arn     = aws_sns_topic.tf-topic.arn
  }

  # 오류 작업
  error_action {
    republish {
      topic = "err/tf/test"
      role_arn = aws_iam_role.tf-rule-role.arn
    }
  }
}

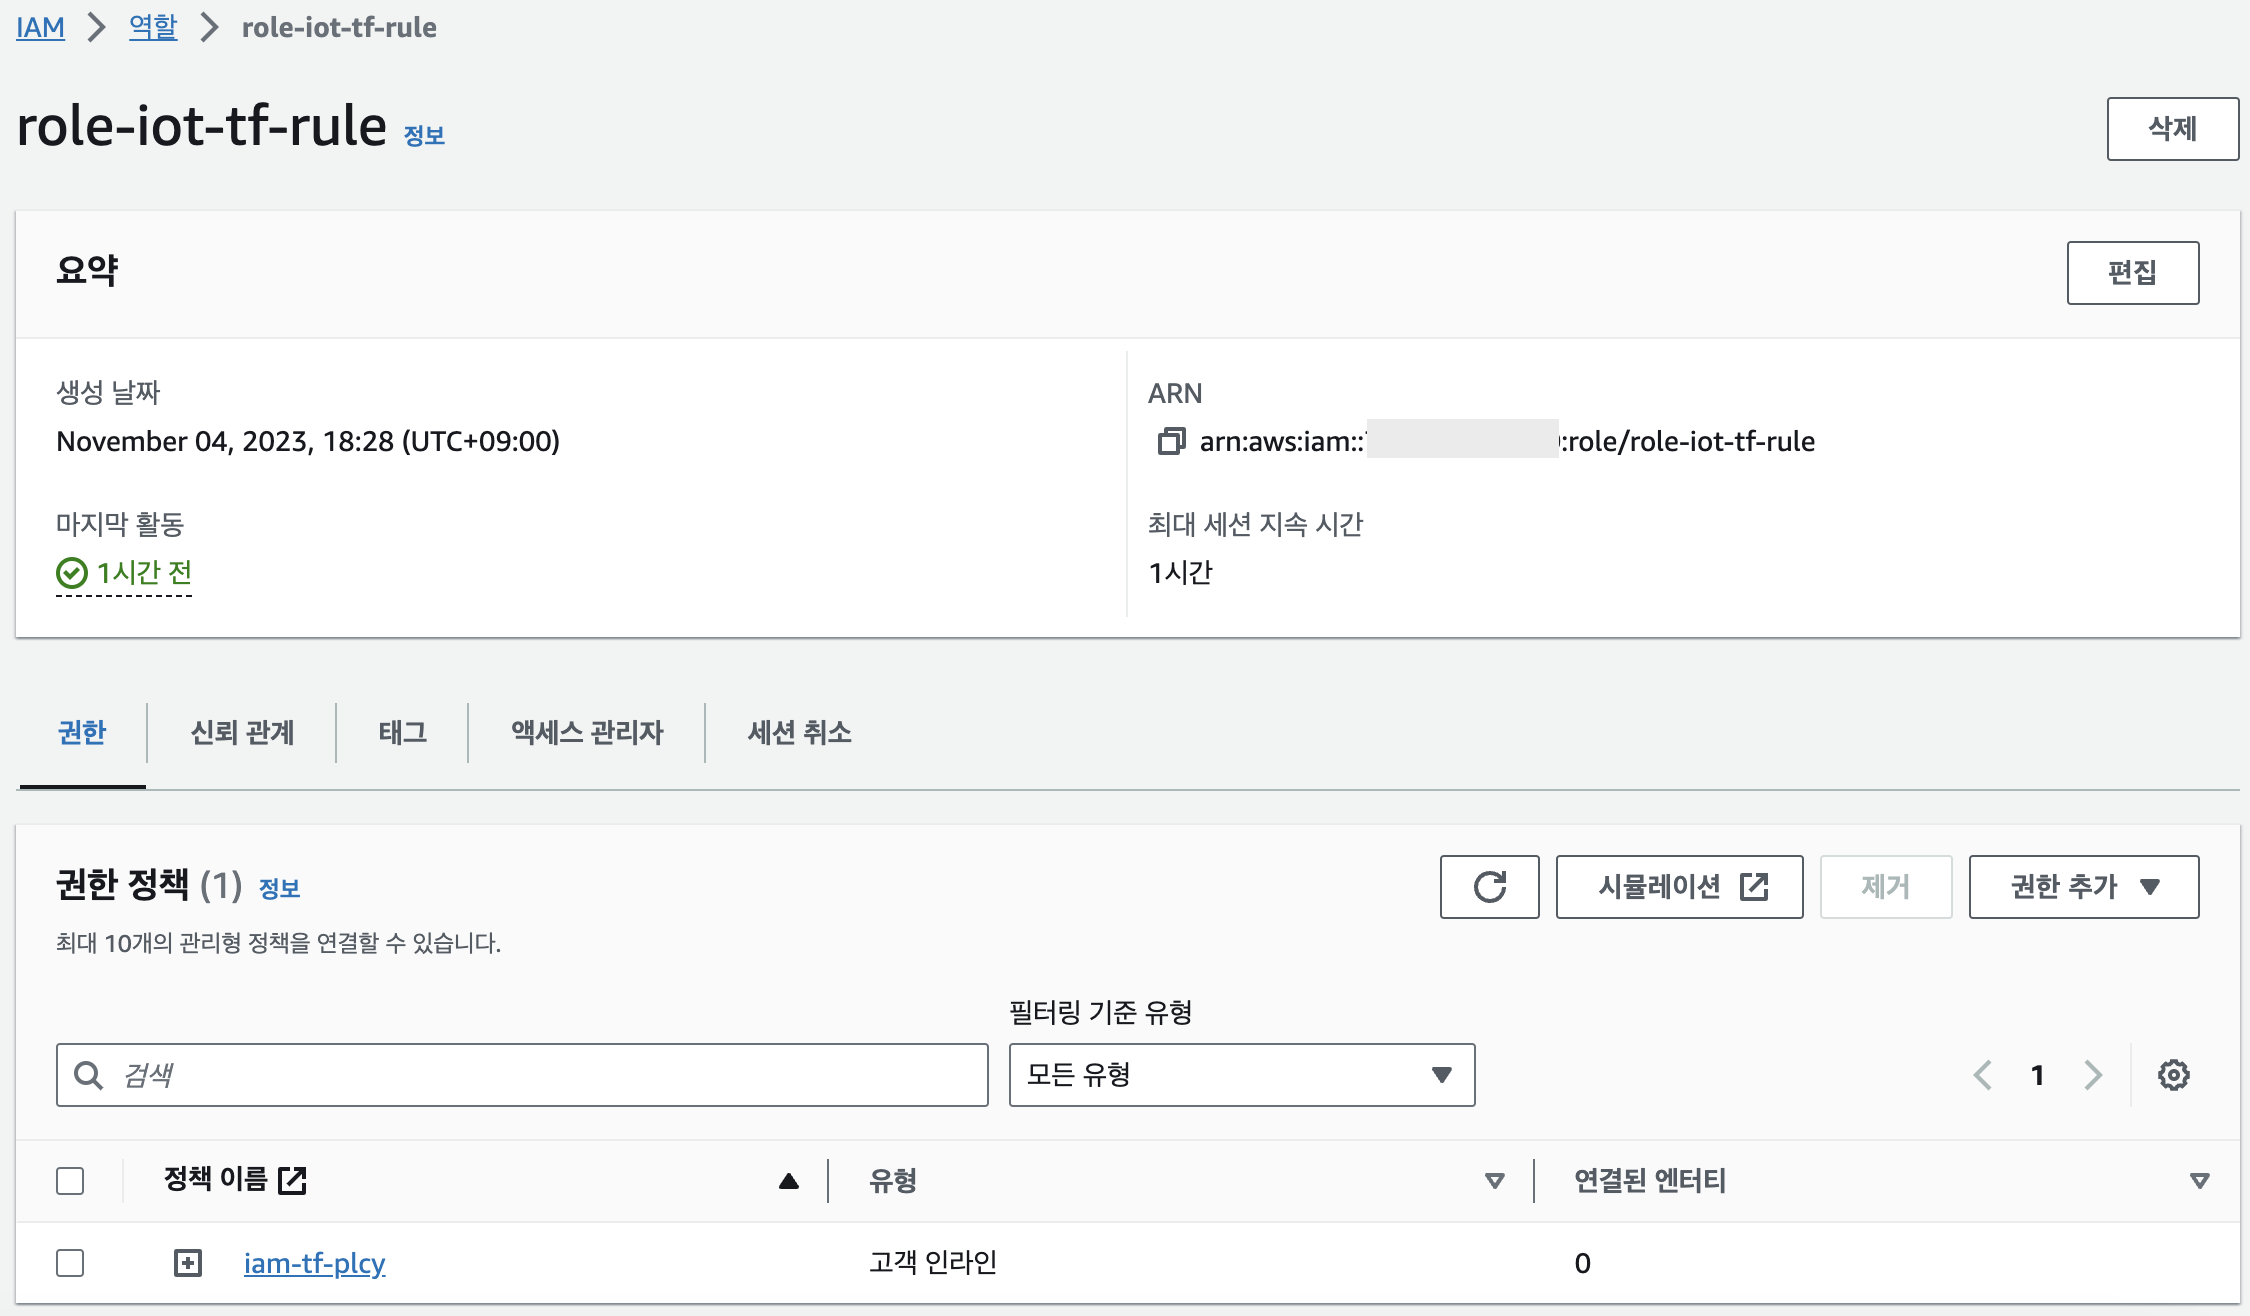
IAM Role은 다음과 같이 설정한다.
- IAM Policy(정책)에는 SNS와 IoT에 메시지를 Publish 할 수 있도록 한다. 위에서 생성한 SNS를 목적지로 설정한다
- 오류 작업을 위해서 data로 정의한 IoT Thing(사물)의 정보를 가지고와서 err/tf/test에 데이터를 publish 할 수 있도록 한다
# IAM Role
data "aws_iam_policy_document" "assume_role" {
  statement {
    effect = "Allow"

    principals {
      type        = "Service"
      identifiers = ["iot.amazonaws.com"]
    }

    actions = ["sts:AssumeRole"]
  }
}

resource "aws_iam_role" "tf-rule-role" {
  name = "role-iot-tf-rule"
  assume_role_policy = data.aws_iam_policy_document.assume_role.json
}

data "aws_iam_policy_document" "tf-iam-plcy" {
  statement {
    effect    = "Allow"
    actions   = [
      "sns:Publish",
      "iot:Publish"
    ]
    resources = [
      aws_sns_topic.tf-topic.arn,
      "arn:aws:iot:${data.aws_arn.dvc-iot-tf-thing-arn.region}:${data.aws_arn.dvc-iot-tf-thing-arn.account}:topic/err/tf/test"
      ]
  }
}

resource "aws_iam_role_policy" "tf-iam-plcy" {
  name   = "iam-tf-plcy"
  role   = aws_iam_role.tf-rule-role.id
  policy = data.aws_iam_policy_document.tf-iam-plcy.json
}

하루만에 짜본 Terraform으로 AWS IoT Core 구성하기 작업을 했다 ㅎ후후후ㅜ.,, 끊임없이 공부하기..
참고 문헌 : https://github.com/icaliskanoglu/aws-iot-terraform
GitHub - icaliskanoglu/aws-iot-terraform: Create AWS IOT devices and related resources with terraform
Create AWS IOT devices and related resources with terraform - GitHub - icaliskanoglu/aws-iot-terraform: Create AWS IOT devices and related resources with terraform
github.com
https://advancedweb.hu/how-to-manage-iot-core-resources-with-terraform/
'Terraform' 카테고리의 다른 글
| [Terraform] 테라폼으로 IoT Core 데이터 S3에 저장하기 (0) | 2023.12.12 |
|---|---|
| [Terraform] 테라폼으로 Amazon S3 생성하기 (0) | 2023.11.28 |
| [Terraform] 테라폼으로 AWS 네트워크 환경 구축하기 (0) | 2023.08.23 |


